
TAPE CUTTERS · BLADE CARE
The cut gets ragged, the ends start to fray, and the first thought is a new blade. Often the blade only needs resetting. And if the lower blade is chipped, it may still have a second edge you haven't used.
The machine has been cutting webbing every day for months. Lately the ends come out with a little fuzz. Then a few pieces stay joined. Someone says the blade is finished and starts looking up the price of a new set.
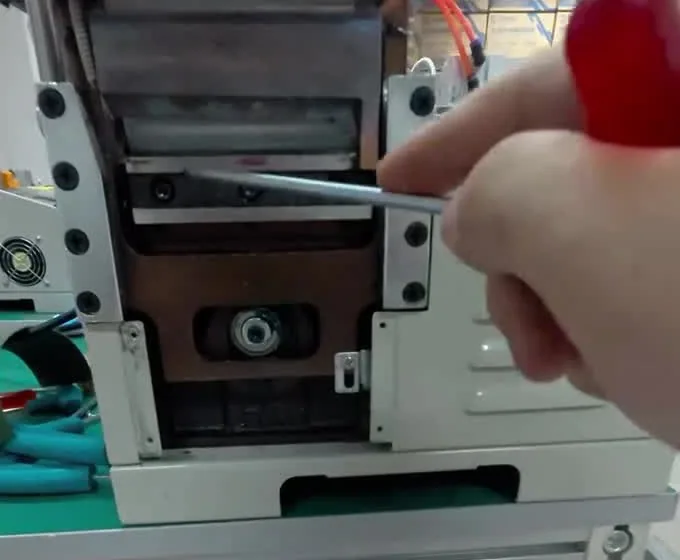
Before you order, look at the blades. In the video a tape cutter that had stopped cutting cleanly is brought back without new parts, first by resetting the blade, and then by showing how a chipped lower blade can be turned over and used again. That is the point the video makes: a little maintenance can make one set of blades last like two.
THE SHORT ANSWER
Open the cover and check two things: is the lower blade edge badly worn or chipped, and does the upper blade have any chips? If neither is damaged, the blade only needs resetting. Bring it to its lowest point, loosen the two large screws, push the blade fully into its seat and retighten. Check there is no light between the blade and its base plate, snug the front screws gently, then test-cut at both edges. If the lower blade is chipped and is ground on both faces, remove its three screws, turn it over and set it up again.
- 01 Adjust or replace?
- 02 Inspect the blades
- 03 Reseat the blade
- 04 Check it sits flat
- 05 Test and fine-tune
- 06 Flip a chipped blade
- → HESPER machines
- ? FAQ
01 · ADJUST OR REPLACE?
A poor cut doesn't always mean a dead blade
A tape cutter like the one in the video cuts with an upper and a lower blade working together, like a pair of shears. For a clean cut both edges need to be sharp, and they need to meet evenly across the whole width.
Over time the blade can shift slightly in its seat, or stop sitting flat. The edges are still good, but they no longer meet properly, so the strip is pressed and torn rather than sheared. That looks like a worn blade, and it is fixed with a hex key, not a purchase.
| What you see | Likely cause | What to change |
|---|---|---|
| Ends slightly fuzzy or frayed | Blades not meeting firmly enough | Reset the blade, then tighten the two adjusting screws a little |
| Strip pressed but not cut through | Blade shifted or not seated | Push it fully into its seat and retighten |
| Cut fine on one side only | Uneven contact across the width | Check it sits flat, then test each edge |
| A notch or line on every piece in the same place | Chip in the upper or lower blade | Inspect both edges. Flip or replace the chipped blade |
| Won't cut cleanly however it's adjusted | Lower blade worn or chipped | Flip it if it has a second edge. Otherwise replace it |
02 · INSPECT THE BLADES
Open the cover and look at two places
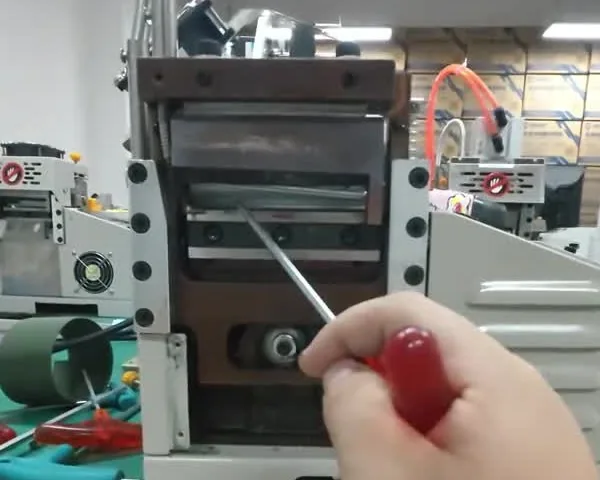
Switch the machine off and take off the cover so you can see the blades. Then look closely at:
- The lower blade edge. Is it badly worn? Is there a chip or a notch anywhere along it?
- The upper blade. Run your eye along the edge for chips.
If neither blade has a chip and the cut has simply stopped being clean, go on to reset the blade. If the lower blade is chipped, adjusting it won't help, and you can go straight to section 06.
03 · RESEAT THE BLADE
Bring it down and push it home
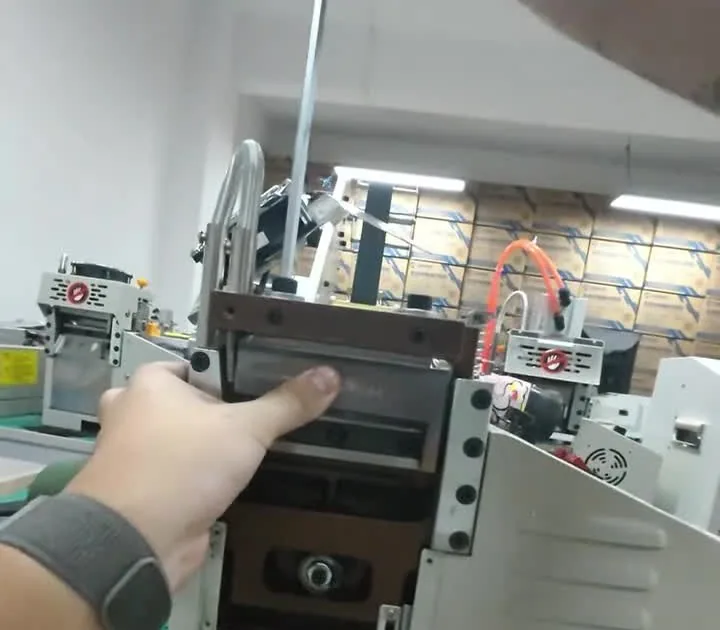
- Bring the blade to its lowest point. In the video a 4 mm hex key turns the knife holder clockwise until the blade is all the way down.
- Loosen the two large screws above it. Just a little, enough for the blade to move.
- Take out the baffle behind the blade. There is a cover plate at the back. Set it aside for now.
- Push the blade in by hand. Press it firmly into its seat.
- Tighten the two large screws. Hold the blade in place with your hand while you tighten them.
04 · CHECK IT SITS FLAT
Look for light under the blade
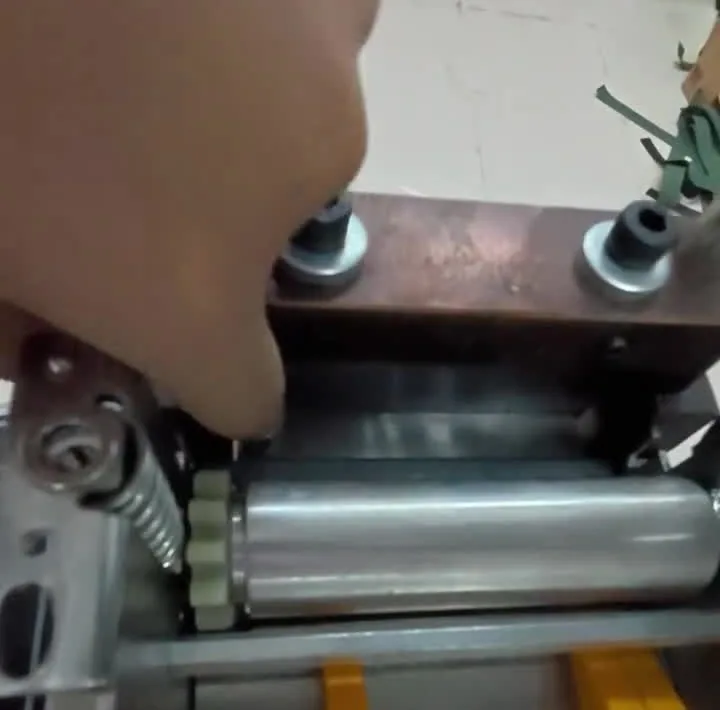
With the cover off you can see the gap between the blade and the base plate it sits on.
- Look along the gap. If light shows through, the blade isn't flat. Tighten the front a little.
- No light means flat. Press it down by hand and check the back is flat too.
- Snug the front screws gently. In the video a 3 mm hex key is used. Don't force it. Stop when the screw stops turning.
05 · TEST AND FINE-TUNE
Cut a strip at both edges
- Bring the blade up. Keep turning the knife holder clockwise with the hex key.
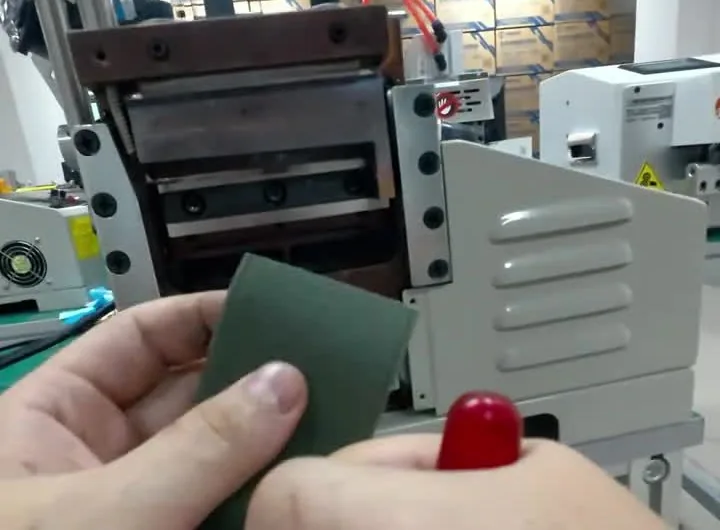
- Lay a strip in place and cut it by turning the holder. Use the material you actually run.
- Try both sides. In the video the webbing now cuts through, but both sides show a little fraying.
- Fine-tune. Bring the blade back down. With the 3 mm hex key, tighten the two adjusting screws a little more.
- Test again at both edges. In the video the cut is now smooth on each side.
- Put the covers back. Refit the fan cover and the back screws. Those were loosened when the parts came off, so snug them lightly, the same way as the front.
06 · FLIP A CHIPPED BLADE
A chipped lower blade may have a second edge
If the lower blade has a chip, no adjustment will make it cut cleanly. On the machine in the video, though, the lower blade is ground on both its upper and lower faces, so it has a second edge ready to use.
- Remove the three screws holding the lower blade.
- Turn the blade over so the unused face is on top.
- Refit it and set it up exactly as in sections 03 to 05.
In the video's words, you can then use the blade as if it were new. Not every blade is ground on both faces, so check yours, or ask your supplier, before you take it out to flip it.
HESPER EQUIPMENT
HESPER hot and cold tape cutting machines
Four options, each listed with hot and cold knife cutting. Details and specifications are on the tape cutter page.
95 MM
95mm EconomyCutting width 1–95 mm. Button control panel for routine cut-to-length work.95 MM
95mm High-SpeedCutting width 1–95 mm. LCD and buttons.210 MM
210mm TouchscreenCutting width 1–210 mm for wider tapes and webbing.310 MM
310mm TouchscreenCutting width 1–310 mm for the widest strips.? FAQ
Tape cutter blade care questions
How do I know if my tape cutter blade needs replacing?
Open the cover and inspect the lower blade edge for heavy wear or chips, and the upper blade for chips. If neither is damaged, the blade usually needs resetting, not replacing.
Why does webbing fray after cutting?
Often the blades aren't meeting firmly enough, so the fibers are torn rather than sheared. Reseat the blade, make sure it sits flat, and tighten the adjusting screws a little at a time until both edges cut smoothly.
Can a tape cutter blade be flipped?
If it is ground on both faces, yes. In the video the lower blade is removed with three screws, turned over and set up again, giving it a fresh edge.
How tight should the screws be?
Snug, not forced. In the video the front screws are tightened gently with a 3 mm hex key and left when they stop turning.
What does the light check show?
Whether the blade sits flat on its base plate. Light in the gap means it doesn't. Tighten the front until the gap closes.
Does this work for webbing, hook and loop and ribbon?
The same checks apply to any strip. Test with the material you actually cut, because thicker or tougher strips show a poor setting sooner.
How often should I check the blades?
Whenever the cut starts to change, and as part of regular maintenance. Catching a loose blade early saves both the blade and the batch.
BLADE CARE
Not Sure If It's the Blade?
Send HESPER a close photo of both blade edges and a short video of a cut, with the material, its width and thickness. Seeing the edge and the cut is often the quickest way to tell whether the blade needs resetting, flipping or replacing.
Send your blade photos · See the tape cutters · sales@hespermachine.com