

Your new automatic cutting machine has arrived. You load the material and press start, but the first pieces are a few millimeters short. Then the buzzer sounds. Where should you start checking?
This guide follows the keypad-controller manual for the CXY-100G sold by HESPER. It covers loading, length and quantity settings, speed selection, length compensation and alarms. Before operating, check your machine, controller version and supplied manual. The keys and parameters below apply to the version described here.
Know the Keys Before You Start
| Key | What it does |
|---|---|
| LEN | Set the cut length. |
| SPD | Feed-speed setting, 00–99. The manual's operating section states that a higher value means faster feeding. These are control settings, not m/min or pieces per minute. |
| CUT | Set the number of cutter strokes per cycle; the manual's standard example uses 1. |
| TOL | Set the total quantity. |
| UNIT | Set the batch size, 0–9,999. A value of 0 disables batch pauses. F2 must also be set to obtain a pause between batches. |
| + / − | Jog feeding forward or backward in standby; used for decimal adjustment during length entry. |
| CLR | Clear an incorrect entry on a setting screen. On the main screen, it triggers one cutter stroke: do not treat it as an ordinary reset key. |
| CMP | Clear the completed-piece count. |
| FUN | Select a special function: press FUN, then the corresponding number for F0–F5. |
| SET / RUN / STOP | Save a setting / start cutting / stop or return to the main screen. |
Do not forget SET. Press SET after entering a value, then STOP to return to the main screen and check the settings. Identify your machine's stop and emergency-stop controls before operating.
Step 1: Load the Material Correctly
Follow the machine's loading procedure, keep guards effective and keep hands and hard objects away from the blade and feed rollers. Before entering a hazardous area for adjustment, clearing or troubleshooting, follow the equipment's procedure to stop, isolate energy and prevent unexpected startup. STOP or emergency stop does not replace energy isolation.
- After completing the safety preparations, switch on the power and enter the operating screen.
- Follow the specified feed path to introduce the material between the upper and lower feed rollers.
- Use + to jog the leading end just beyond the cutting edge, keeping hands outside the hazardous area.
- Check that the guide plate keeps the material straight without clamping it. Make any necessary adjustment using the equipment's safe procedure.
A guide that is too tight can obstruct feeding. The manual specifically warns that the guide should prevent sideways movement without clamping the material, which can affect cut length.
Step 2: Enter Length, Quantity and Batch
Use the manual's example: 1,500 pieces at 80.5 mm, in batches of 15.
- Length: press LEN and use your controller's decimal-entry method to display 80.5, then press SET. Check the final displayed value.
- Cutter strokes: press CUT, enter 1, then SET.
- Total quantity: press TOL, enter 1500, then SET.
- Feed speed: press SPD, enter a suitable setting from 00 to 99 for the material, then SET.
- Batch size: press UNIT, enter 15, then SET.
- Batch pause: press FUN, 2, select a suitable pause from 1–9 seconds, then SET. UNIT = 15 together with a positive F2 value completes the setup for a pause after every 15 pieces. The manual's operating section defines F2 = 0 as no batch pause.
- Press STOP to return to the main screen. Confirm 80.5 for length and 1500 for total quantity, and check the batch, pause time and speed.
- When people, material and collection area are ready, press RUN for a trial. Check the first batch before continuing production.
If you entered 800.5 instead of 80.5, reopen the length setting, correct it, press SET and check the display again. Batch counting and pauses help organize production; they do not mean the machine bags the pieces automatically.
Step 3: Select Speed and Distinguish the Function Settings
- Feed speed, SPD: the range is 00–99; higher values mean faster feeding. Consider the material, roll and auxiliary feeding arrangement, and check feeding stability in a trial.
- Cutter speed, F4: the manual lists an initial value of 18, adjustment for material hardness, and larger settings for soft material. The number 18 is a control parameter, not a physical cutting speed. Base adjustments on your machine's instructions and trial results.
- F0 and F1: the manual calls these cutter delay and cutter interval, both with a default of 0. Follow your machine's function instructions; do not read these numbers directly as seconds.
- F5: the manual calls this step length and associates it with + / − jogging in standby. Use it according to your panel and supplied instructions.
Record the original settings during setup. Change one item at a time, then check feeding, cut edges and finished length. Do not convert controller speed numbers directly into production rates.
Step 4: Use F3 to Correct a Consistent Length Difference
Check feeding and guidance first, then determine whether the error is consistent. If the length varies from piece to piece, investigate the cause of that variation rather than repeatedly changing compensation.
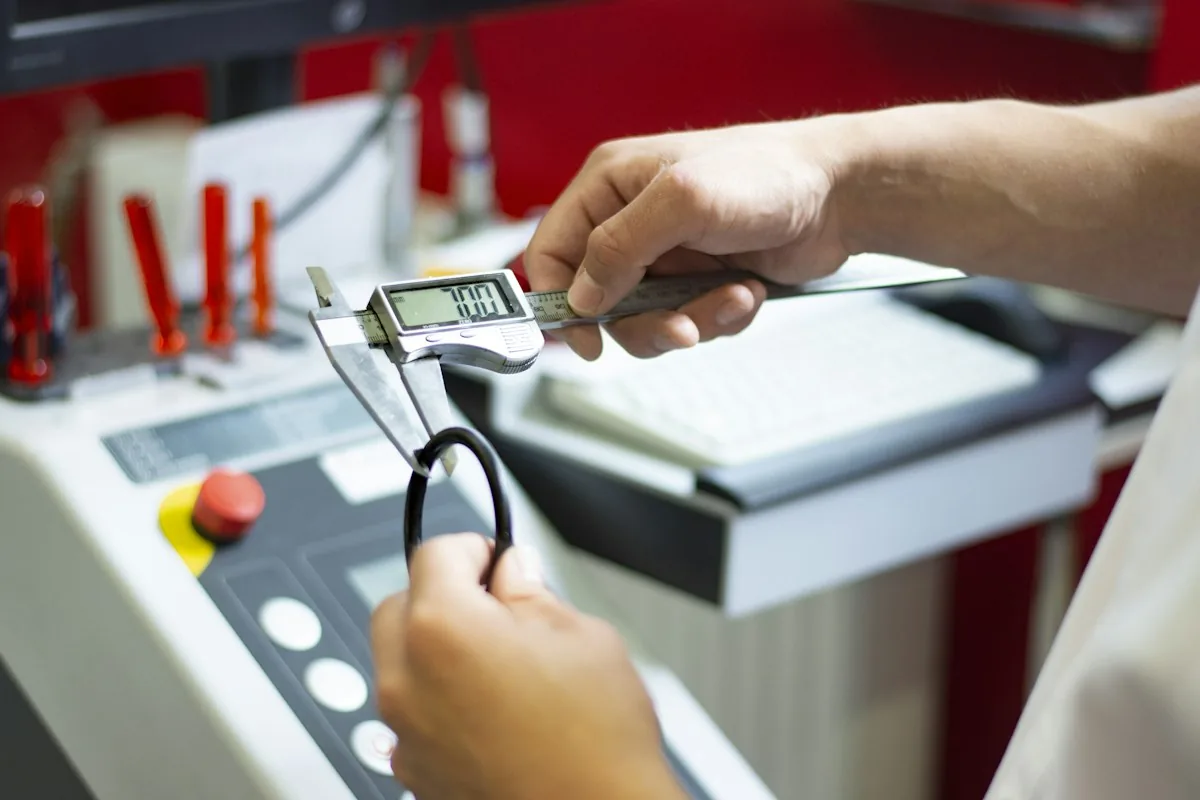
The formula requires an actual length measured with F3 = 0. Do not substitute a measurement taken with existing compensation and use the result to overwrite that setting.
- Record the current settings. After confirming that you have the controller described here, press FUN, 3, set F3 to 0 and press SET.
- Keep the target length and other trial conditions unchanged. Cut and measure several samples to confirm that the length difference is consistent.
- Use the manual's formula:
F3 = (set length − actual length with F3 at 0) ÷ actual length with F3 at 0 × 1,000 - Press FUN, 3, enter the compensation value using the precision supported by your controller, and press SET.
- Cut and measure again. Resume production only after confirming that the finished length meets the job requirements.
The manual's worked example: the set length is 100 mm and the measured length with F3 at 0 is 90 mm. F3 = (100 − 90) ÷ 90 × 1,000 ≈ 111.11. This is the calculated result; use the input format supported by your controller. It does not establish that the controller accepts two decimal places.
If the measured length exceeds the set length, the result is negative. The manual gives a compensation range of −999 to +999. This is a parameter range, not a cutting-accuracy specification; remeasure after compensation.
Step 5: Distinguish Normal Signals From Fault Alarms
| What happens | What it means | What to do |
|---|---|---|
| Intermittent beeps during a batch pause. | Check the screen to confirm a normal batch-pause signal. | A normal pause signal ends with the pause. Sound alone does not establish that there is no fault. |
| The machine stops at the total quantity. | The quantity task is complete. | Check the count and next-job settings. Use CMP only when you intend to clear the count, then confirm the setup before restarting. |
| Buzzer with a cutter-fault message in the screen's top-right corner. | The controller has detected a cutter fault. | Pressing STOP to silence the buzzer does not resolve the fault. Stop using the machine and contact support. Blade inspection, clearing and repairs require qualified personnel following the energy-isolation procedure. |
| No feeding with + / −, or feeding in only one direction. | A feed-drive, signal or connection issue may be involved. | Stop and contact support; do not investigate inside the control box yourself. |
| Feeding suddenly becomes slow. | The drive or control system may require checking; the symptom alone does not identify the fault. | Press STOP, record the display and symptoms, and have a technician investigate. |
Do not treat service-level circuit checks as ordinary operating steps. Do not bridge terminals, adjust board potentiometers or inspect live electrics yourself. Follow the equipment and workplace energy-isolation procedures before clearing jams or servicing.
Which Jobs Does This Guide Cover?
The CXY-100G manual lists wire rope, wire and copper wire, and refers to tube and strip materials in its operating section. Its listed cutting width is 100 mm; this width is not an allowable wire diameter, tube diameter or wall thickness.
Whether you call it an automatic wire cutting machine, a wire cutter machine or a tube cutting machine, send the material, diameter or width, thickness, target length and edge requirements, then verify the configuration with samples. This guide does not describe wire stripping. If you are looking for a pipe cutting machine for large-diameter or thick-wall metal pipe, discuss that requirement separately; it is outside the cut to length machine setup covered here.
FAQ
Why is my cut length wrong on an automatic cutting machine?
Check whether the guide clamps the material and whether feeding is stable, then measure several samples. For a consistent difference, calculate compensation from a trial with F3 at 0 using this controller's method, then remeasure. Investigate variation first if each piece differs.
Why does my cutting machine keep beeping?
Check the screen. Intermittent beeps during a batch pause can be normal. If a cutter fault is displayed, silencing it with STOP does not remove the fault. Blade-area work or internal repairs require qualified personnel following the energy-isolation procedure.
Do I need to press SET after each setting?
On this controller version, press SET to save an entered value, then STOP to return to the main screen and check it. Confirm the settings and safe operating conditions before RUN.
What does a batch value of 0 mean?
UNIT = 0 disables batch pauses. To pause after every 15 pieces, set UNIT to 15 and F2 to a suitable value from 1–9 seconds. F2 = 0 gives no batch pause.
Can a cut to length machine cut wire and tubing?
The manual includes wire materials and tube or strip operation, but actual suitability depends on material, dimensions, blade and feeding configuration. Supply samples and finished-part requirements before confirming capability and results.
Product link: View CXY-100G product specifications. The page compares CXY-100G, CXY-100H and CXY-100W models. Check the controller version and supplied manual for your machine before operation.
Stuck on a setting or an alarm? Send HESPER the machine model, a control-panel photo, material details, current settings and a description of the fault to help check the operating method and troubleshooting direction. Contact HESPER or email sales@hespermachine.com.